Mould grows where moisture sits for long enough: behind a leaking shower, in a wardrobe on a cold external wall, under carpet after a slow leak, across a bathroom ceiling that never ventilates. Queensland and northern New South Wales see a lot of it in humid summers, but it turns up everywhere from Hobart to Darwin.
The IICRC S520 standard sets out the accepted approach to mould remediation in general terms: protect the people, contain the work, physically remove the growth, and correct the moisture problem so it does not come back. The equipment follows those same steps.
Step one: assess and find the moisture
Mould is a symptom. Before any removal, find out why the material got wet and whether it is still wet. A moisture meter and thermal camera will show whether a wall cavity or subfloor is still damp, and how far the problem extends beyond the visible patch. If the source is not fixed, the mould will return no matter how well the remediation is done.
Step two: contain the work area
Disturbing mould releases spores. Containment stops those spores spreading into clean parts of the building.
For small, isolated patches, containment can be as simple as closing a door and covering openings. For larger areas, remediators build a sealed enclosure from polyethylene sheeting with a zip door, and put it under negative air pressure.
How negative air works
An air scrubber is placed inside the containment and its exhaust is ducted outside the enclosure, usually through a window or out of the building. Because air is continuously exhausted out of the enclosure, pressure inside sits slightly below the surrounding rooms, so air leaks in through any gaps rather than out. Spores stay inside and get filtered.
You need two things for this:
- a scrubber that accepts ducting, such as the Hulk 1000 CFM
- flexible negative pressure duct long enough to reach the exhaust point
The Hulk also takes a 16" duct attachment. Our guide to negative air pressure for mould containment covers set-up in more detail.
Step three: filter the air with HEPA scrubbers
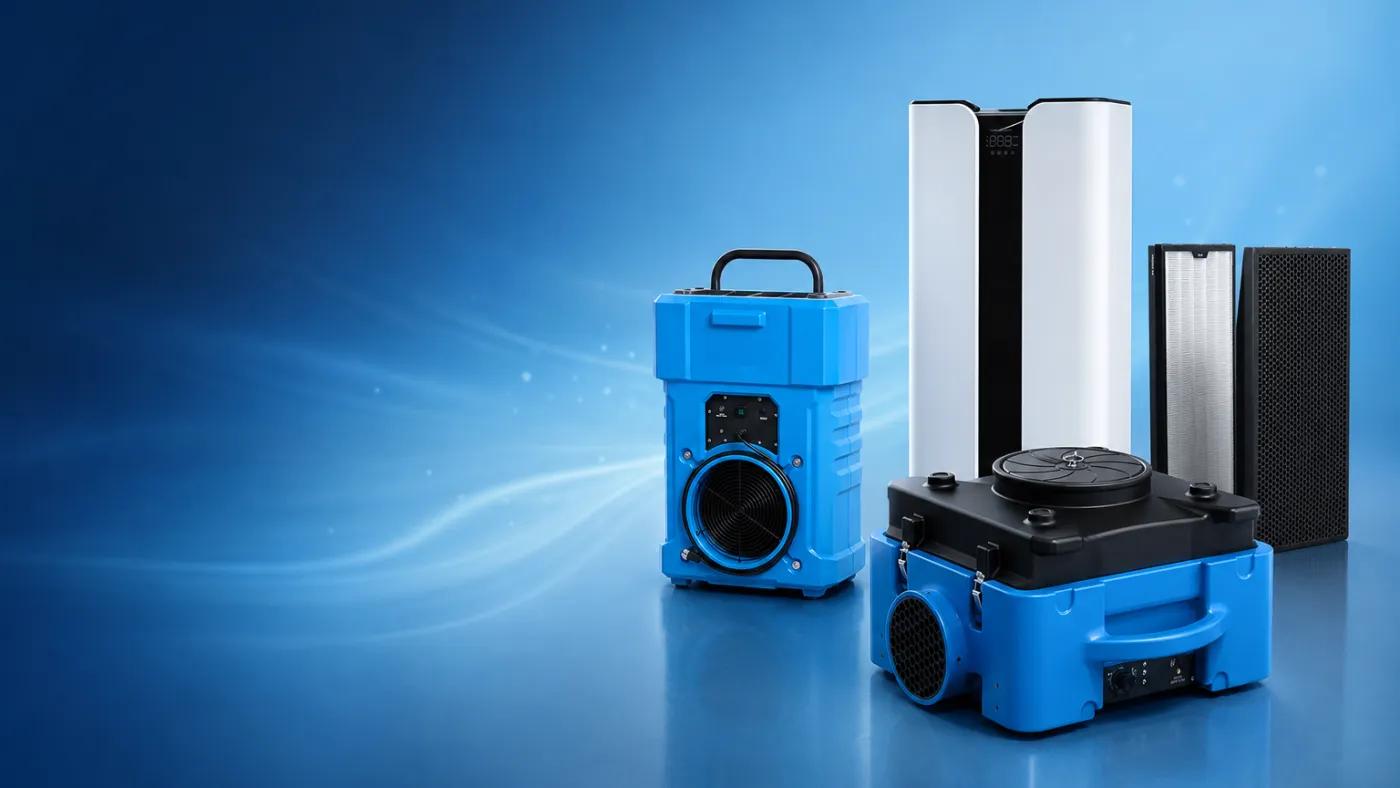
The Thorair 500 CFM and Hulk 1000 scrubbers use a G4 pre-filter to catch larger particles and an H13 HEPA filter to capture fine particles, including mould spores. The pre-filter protects the HEPA filter and is the one you replace most often.
Which scrubber for which job
- 500 CFM Pro scrubber – compact, stackable and 17.5 kg. It suits single rooms, bathrooms and small containments, and draws a maximum of 1.5 A, so several can share circuits.
- Hulk 1000 CFM – moves roughly twice the air and covers larger areas. At 36 kg it is heavier, but one Hulk often does the work of two smaller units in a big containment.
- Hulk 2000 CFM – a commercial scrubber for large rooms, warehouses and multi-room containments.
A common way to size scrubbers is by air changes per hour (ACH): the room volume divided into the scrubber's hourly airflow. Remediators often aim for somewhere in the range of four to six air changes an hour in a containment, but treat that as a starting point and follow the scope of works. The air scrubber calculator does the maths.
Step four: deal with odour
Mould jobs often smell musty long after the growth is gone. Activated carbon filters adsorb odours and some volatile compounds that HEPA does not catch. Thorair offers a carbon filter for the 500 CFM scrubber and HEPA/activated carbon filters for the Pro HEPA range. Carbon filters load up over time, so plan to replace them on smelly jobs.
Step five: remove, clean and dry
Porous materials with significant growth, such as plasterboard, insulation and carpet, are usually cut out and bagged inside the containment. Hard surfaces are cleaned. HEPA vacuuming picks up settled spores.
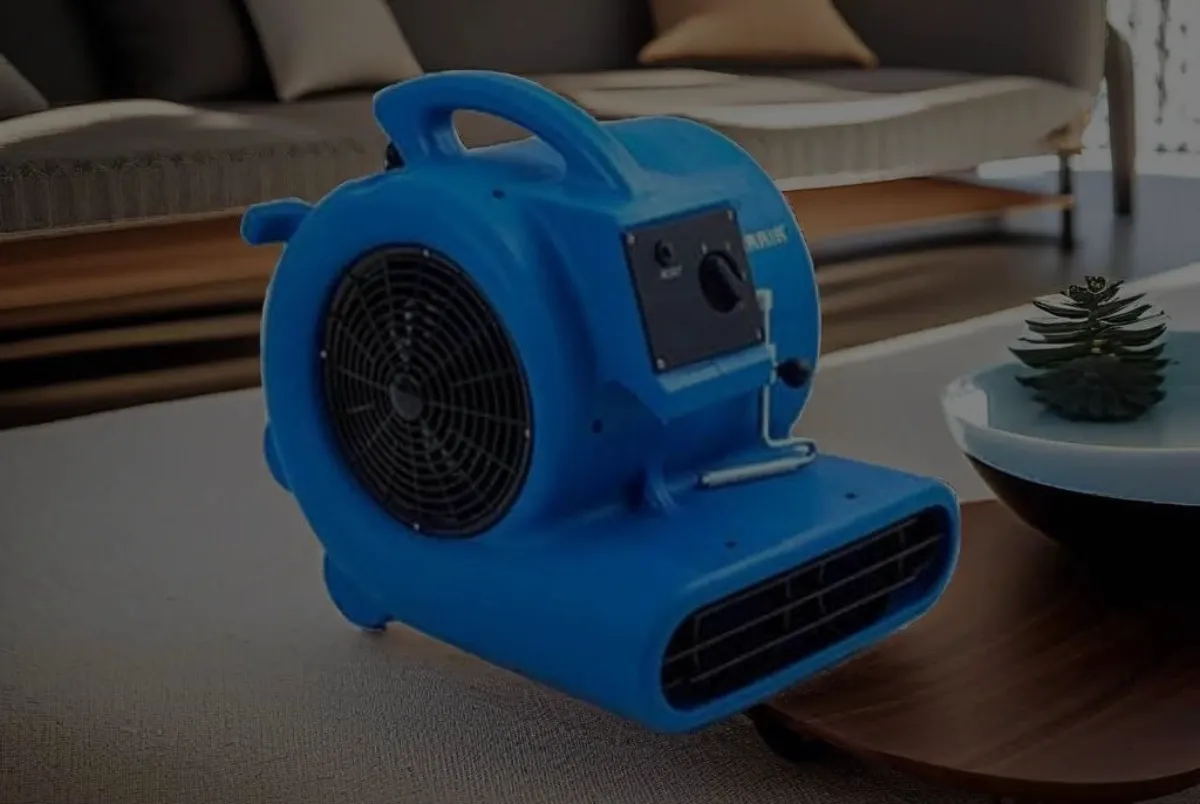
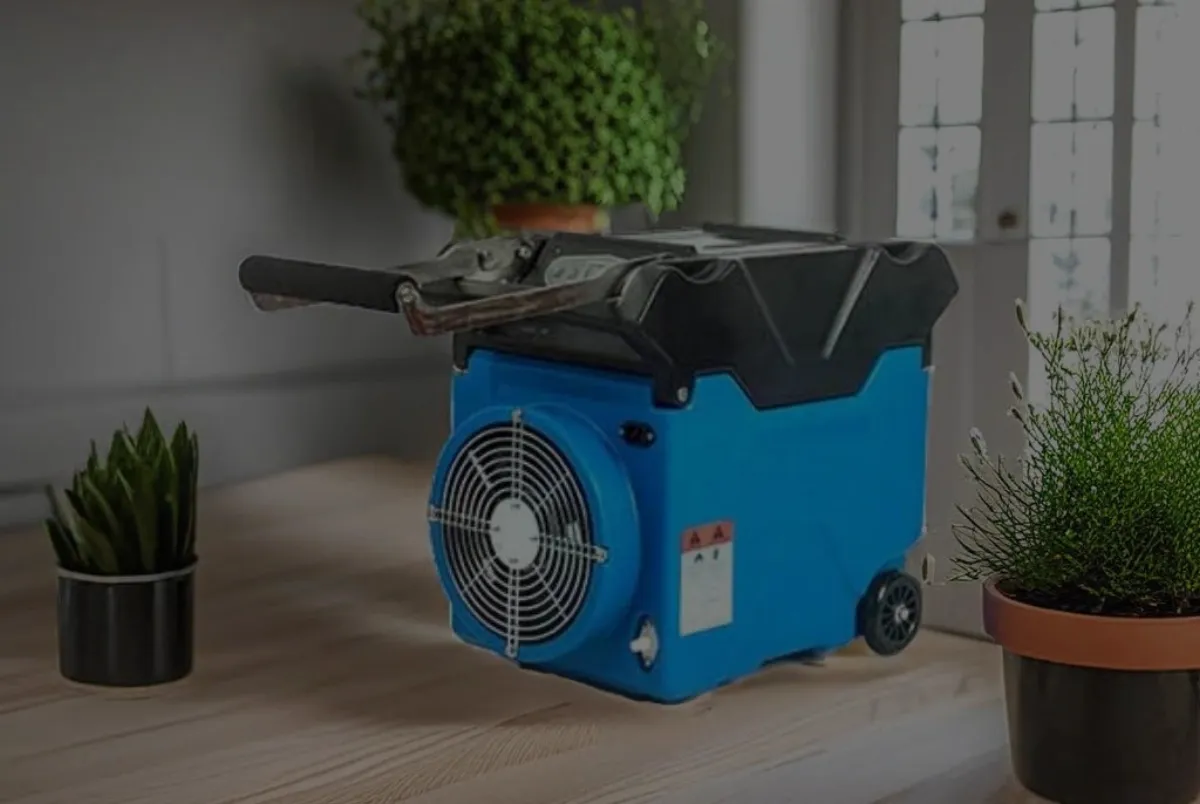
Then dry. Any timber framing, slab or remaining building material that is still wet needs to be brought back to its dry standard before the wall is closed up. An LGR dehumidifier such as the Pro LGR 50L keeps humidity down inside the containment and pulls moisture from structure, with an air mover where you need airflow across a surface. Follow moisture readings to decide when it is dry.
Safety and when to call a professional
Mould remediation involves disturbing material that can affect health, particularly for people with asthma, allergies or weakened immune systems. At a minimum, anyone doing the work needs a P2 or better respirator, gloves and eye protection, with disposable coveralls on larger jobs. Large areas, mould in HVAC systems, or growth following sewage or floodwater should be handled by a qualified remediation professional.
Equipment checklist for a remediation kit
- One or more HEPA air scrubbers sized to the containment
- Negative pressure ducting and a way to seal it at the exhaust
- Spare G4 pre-filters, HEPA filters and carbon filters
- LGR dehumidifier and at least one air mover
- Moisture meter and thermal camera
- Polyethylene sheeting, tape, zip doors
- PPE for every person on site