Removing mouldy plasterboard, carpet or cabinetry releases large numbers of spores and fragments into the air. Without control, that material drifts through the house on normal air currents and settles in rooms that were clean. Negative air pressure is the standard way to stop that happening.
What negative air actually is
Air moves from higher pressure to lower pressure. If you pull more air out of a sealed work area than leaks in, the pressure inside drops slightly below the surrounding rooms. Any gaps in the containment then leak clean air into the work area, not contaminated air out of it.
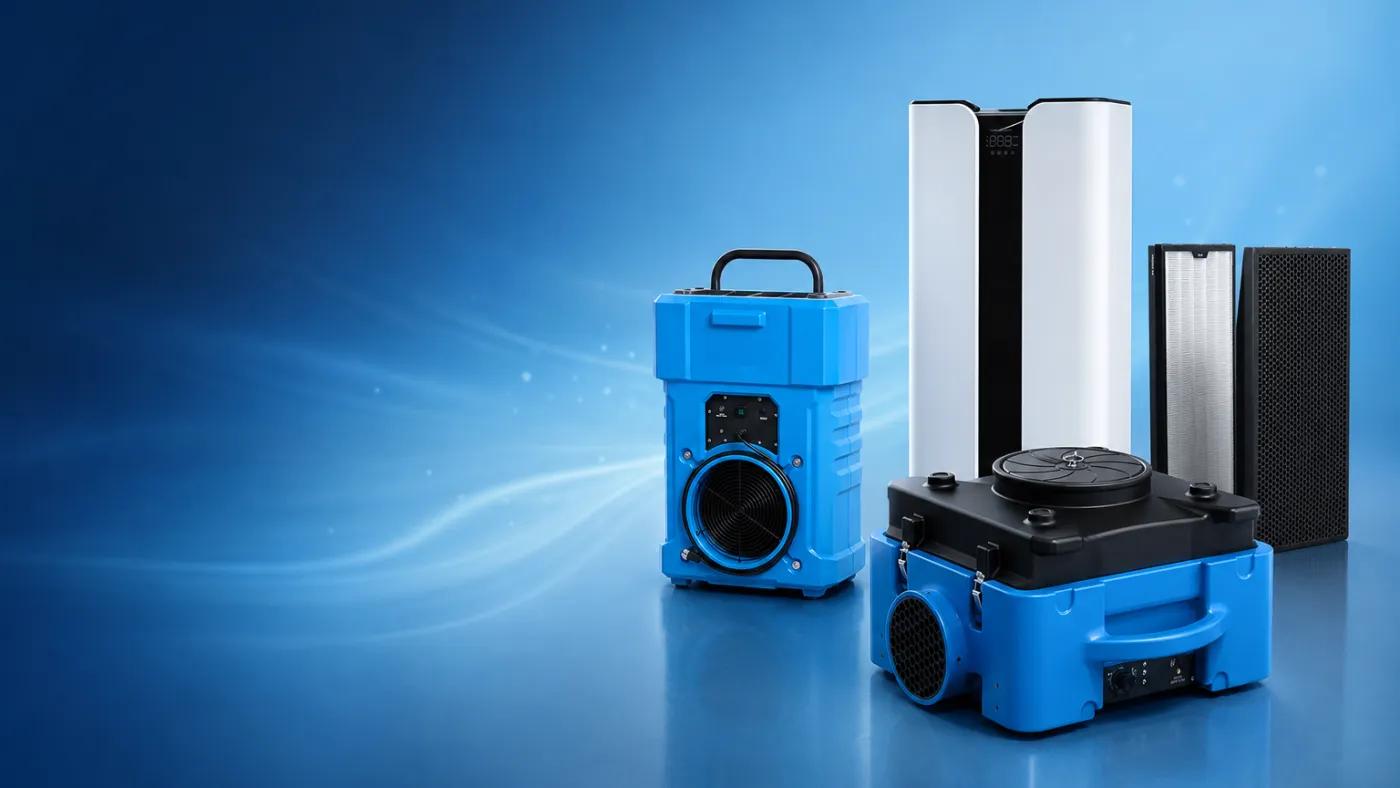
You create that pressure drop with a HEPA air scrubber that draws air from inside the containment and exhausts it, filtered, outside the building or at least outside the containment. The scrubber is doing two jobs at once: filtering the air and acting as an exhaust fan.
Step 1: Plan the containment
Before hanging any plastic, decide where the boundary goes.
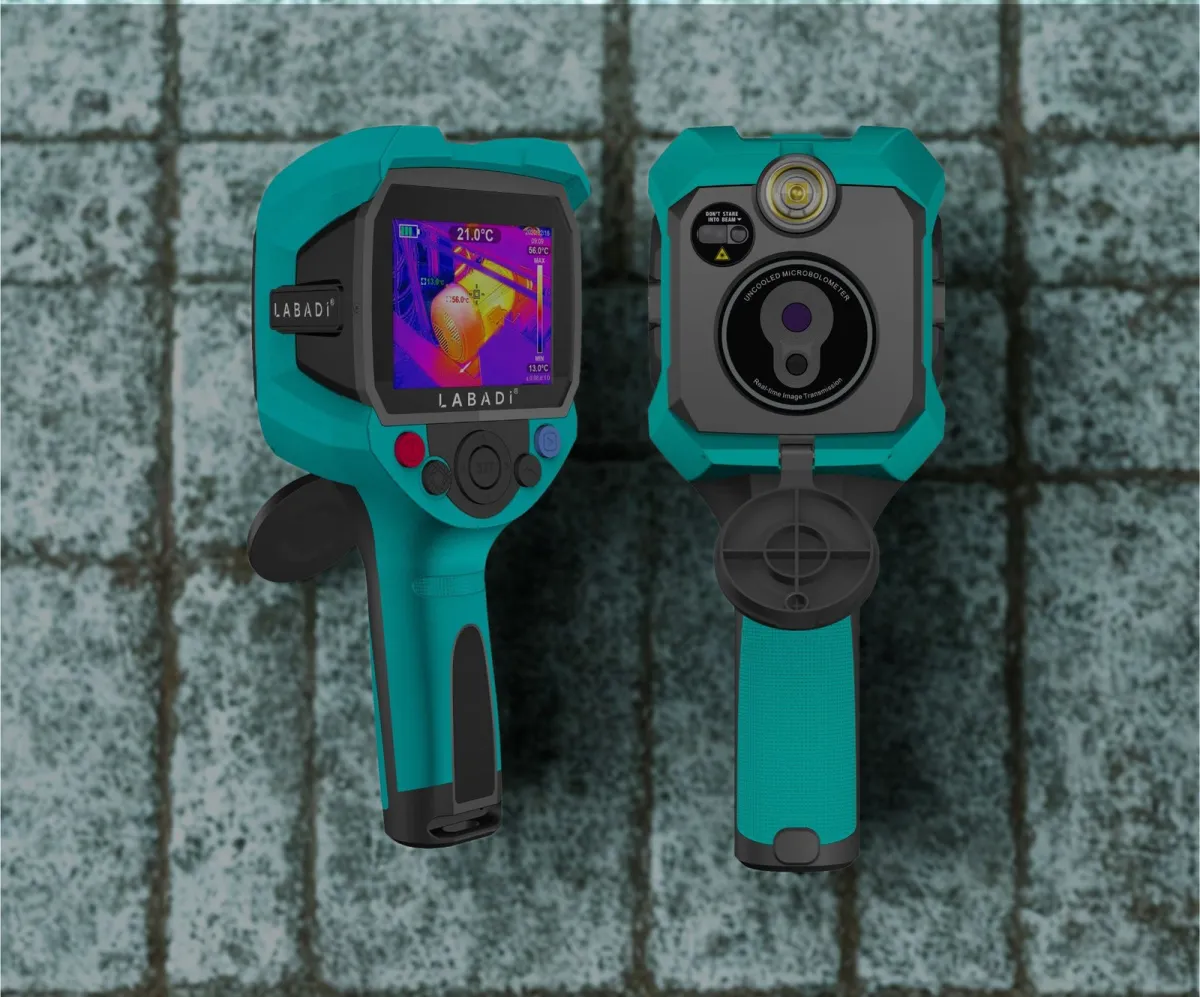
- Find the extent of the problem. Visible mould is often only part of it. Use a moisture meter and thermal camera to trace the moisture source and wet materials behind the surface. Our guide to thermal cameras and moisture meters explains how.
- Isolate the HVAC. Turn off ducted air conditioning and seal supply and return vents inside the work area. A running system can spread spores through the whole building.
- Plan an exhaust route. Identify a window or door where the duct can leave the building, away from air intakes, neighbours' windows and occupied outdoor areas.
- Plan a clean exit. Larger jobs need an entry chamber or decontamination area where workers remove outer PPE before leaving.
Step 2: Build the containment
- Use polyethylene sheeting (commonly 150–200 micron) fixed to floor, walls and ceiling with tape, spring poles or a combination.
- Cover floors in the work area and along the access path.
- Seal penetrations: power points, light fittings, vents, gaps under doors and around pipes.
- Fit a zip door or overlapping flap door at the entry so workers can pass through without opening a large gap.
- Leave a small, controlled makeup air point if needed, ideally from a clean area, so the scrubber is not fighting a completely sealed box.
Step 3: Set up and duct the scrubber
Place the scrubber inside the containment, with its intake drawing from the work area. Connect ducting to the exhaust and run it out of the building.
- PVC negative pressure flexible duct is reinforced with a steel wire helix, so it holds its shape under suction and resists crushing. Lay-flat duct is lighter and packs down small, but it only works on the exhaust (positive-pressure) side.
- For the Hulk, the 16-inch duct attachment gives a secure, well-sealed duct connection.
- Keep duct runs as short and straight as practical. Every bend and extra length reduces airflow.
- Seal where the duct passes through the window or door with plastic and tape, so outside air is not drawn back in around it.
For sizing, the Hulk 1000 CFM scrubber suits most single rooms and small multi-room containments, while the compact 500 CFM scrubber works well for bathrooms, cupboards and small wall cavities. Large commercial containments may call for the Hulk 2000 or several units. The air scrubber calculator will help with the numbers.
Step 4: Check the pressure
There are simple and more precise ways to confirm the work area is negative.
- Visual check. The containment walls should bow gently inward. A zip door should pull slightly toward the work area.
- Smoke test. A small puff from a smoke pencil or smoke tube at a gap or the door should drift into the containment.
- Manometer. A digital manometer with a tube passed through the containment wall gives a numeric pressure differential between the work area and the adjacent space. A figure often cited for mould and similar containment work is a negative pressure of around 5 pascals (roughly 0.02 inches of water column), but targets vary with the guidance you follow and the job scope. Record readings at setup and during each visit.
If you cannot achieve negative pressure, look for large leaks first, then check filter loading and duct restrictions, then add exhaust capacity.
Step 5: Work, monitor and finish
- Change the scrubber's pre-filter as it loads up. Demolition dust fills it quickly, and airflow (and pressure) falls with it.
- Bag removed materials inside the containment, then wipe or HEPA-vacuum the outside of bags before they leave.
- Keep the scrubber running during final cleaning and for a period after, to capture fine material that settles slowly.
- Only remove containment once cleaning is complete and the job's clearance criteria are met.
Standards, PPE and when to call a professional
IICRC S520 is the widely used industry standard for professional mould remediation. It covers assessment, containment, removal, cleaning and verification in far more detail than a guide like this can. If you are doing remediation as a business, training against it is worthwhile.
Mould work needs proper PPE. At a minimum that usually means a well-fitted P2 (or better) respirator, disposable coveralls, gloves and eye protection. Larger or heavier contamination may call for a higher level of respiratory protection.
Call a qualified remediation professional when:
- The mould covers a large area or several rooms.
- The source is sewage or other Category 3 water.
- It is in the ductwork, roof space or structural framing.
- Occupants are unwell, immunocompromised, very young or elderly.
- Insurance, a tenancy dispute or a sale may depend on documented results.
Our mould remediation page covers the full process and the equipment involved.