Carpet is one of the most common casualties of a burst pipe, overflowing washing machine or storm leak. Whether it can be dried in place depends on what the water carried and how long it has been sitting. Work through the steps below in order.
Step 1: Make it safe
Before anyone walks on a wet carpet:
- Turn off power to affected circuits at the switchboard if water has reached power points, appliances or leads. If in doubt, have an electrician check it.
- Stop the source. Turn off the water at the meter or the fixture.
- Watch for slips and lifting hazards. Wet carpet and underlay are heavy.
- Check for structural issues such as sagging ceilings after a leak from above.
Step 2: Identify the water category
This decides almost everything that follows. The IICRC S500 standard uses three categories:
- Category 1 (clean water): from a clean source such as a burst supply pipe or a tap left running. The best candidate for drying in place.
- Category 2 (grey water): carries some contamination, such as washing machine or dishwasher discharge, or clean water that has sat long enough to degrade.
- Category 3 (black water): grossly contaminated. Sewage, toilet overflows with faeces, and floodwater from rivers, creeks or storm surge all fall here.
Water gets worse with time and contact. Clean water sitting in a warm house for a couple of days, or running through dirty materials, can become Category 2 or 3.
Category 3 is a different job. Carpet and underlay soaked by sewage or floodwater should be removed and discarded, not dried. Anyone handling it needs proper PPE (gloves, eye protection, a suitable respirator and protective clothing), and anything beyond a small area is work for a qualified restoration professional. The flood recovery page covers these jobs.
Step 3: Extract as much water as possible
Extraction removes far more water than evaporation ever will, and every litre you pull out now saves hours of drying later.
- Use a truck mount or portable extraction unit with a carpet wand. Make slow, overlapping passes.
- For saturated carpet over underlay, a weighted extraction tool (one you stand or ride on) presses water out of both layers.
- Keep going until passes bring up very little water.
Wet/dry vacuums help on small areas but struggle with a whole room of saturated underlay. Contain run-off with a water containment mat near doorways and equipment.
Step 4: Decide what to do with the underlay
Underlay holds a lot of water and dries poorly while carpet is lying on it. Common practice:
- Category 1, caught quickly: underlay can sometimes be dried in place with thorough extraction and good airflow. Many restorers still replace it, because it is cheap relative to the labour of drying it.
- Category 2: underlay is generally removed and replaced, and the carpet cleaned and treated.
- Category 3: carpet and underlay both go.
If you remove the underlay, cut it into manageable strips, bag it and remove it from site. Check the subfloor beneath: particleboard, timber and concrete all need readings before you relay anything.
Step 5: Float the carpet with air movers
Floating means blowing air underneath the carpet so it lifts off the floor like a balloon, drying both sides at once.
- Release the carpet from the smooth edge (tack strip) at one corner or along one edge. Use a knee kicker or carpet puller carefully, and avoid tearing the backing.
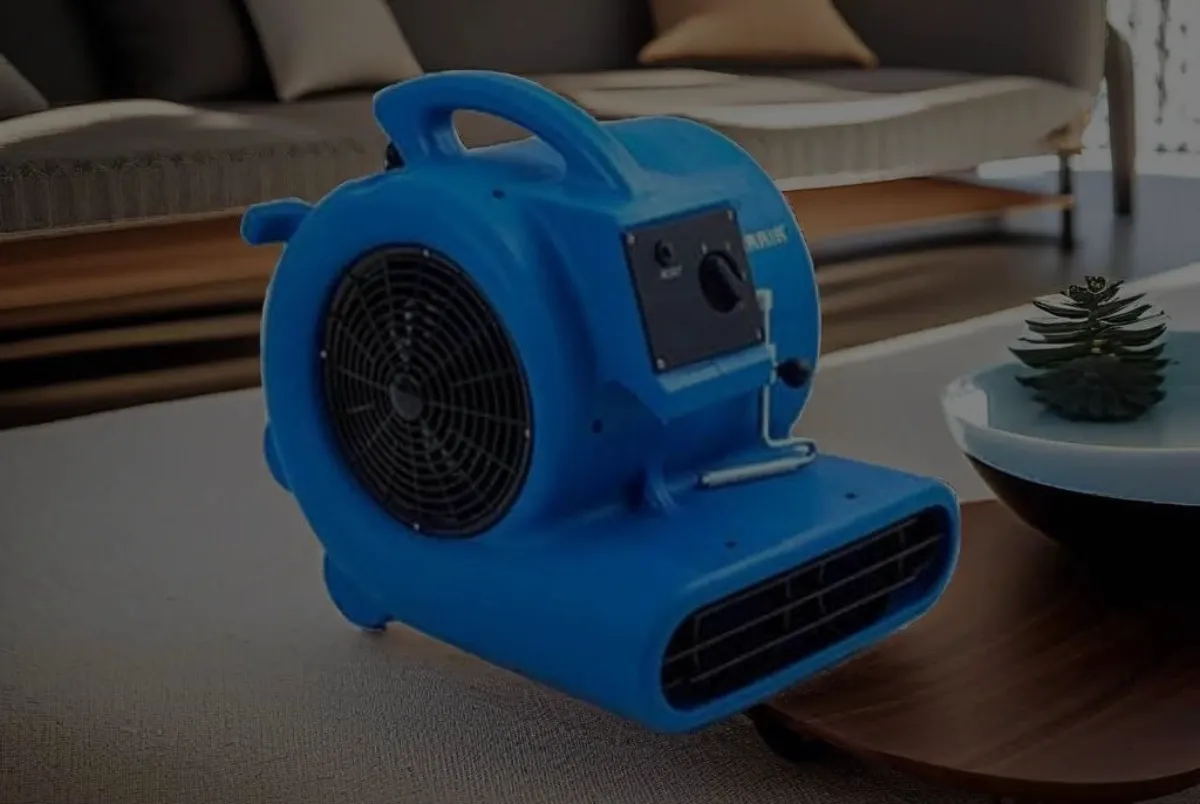
- Place an air mover so it blows under the lifted edge. Snail (centrifugal) air movers and low-profile units are designed for this.
- The carpet will inflate and air will escape along the other edges.
- For larger rooms, add air movers along the wet walls pointing along the skirting, so air sweeps the whole area in one direction.
The Thorair Pro Snail blower moves up to 1,350 CFM on high and is a common choice for floating carpet. The low-profile Pro HEPA Turtle blower sits flat to the floor and fits under furniture and edges. For the differences between types, see air mover types explained. For how many a room needs, see how many air movers per room.
If the underlay has been removed, you can also lay the carpet back flat and dry it with air movers directed across the top, then re-stretch once dry.
Step 6: Run a dehumidifier
Air movers drive water out of the carpet and into the air. Without dehumidification, the room simply gets more humid and drying slows. Close windows and doors to create a drying chamber, then run an LGR dehumidifier continuously with its drain hose to a sink or floor waste.
For a single bedroom or lounge on a Category 1 job, a Pro LGR 50L dehumidifier is a typical starting point. Larger or open-plan areas usually need more capacity.
Step 7: Monitor every day
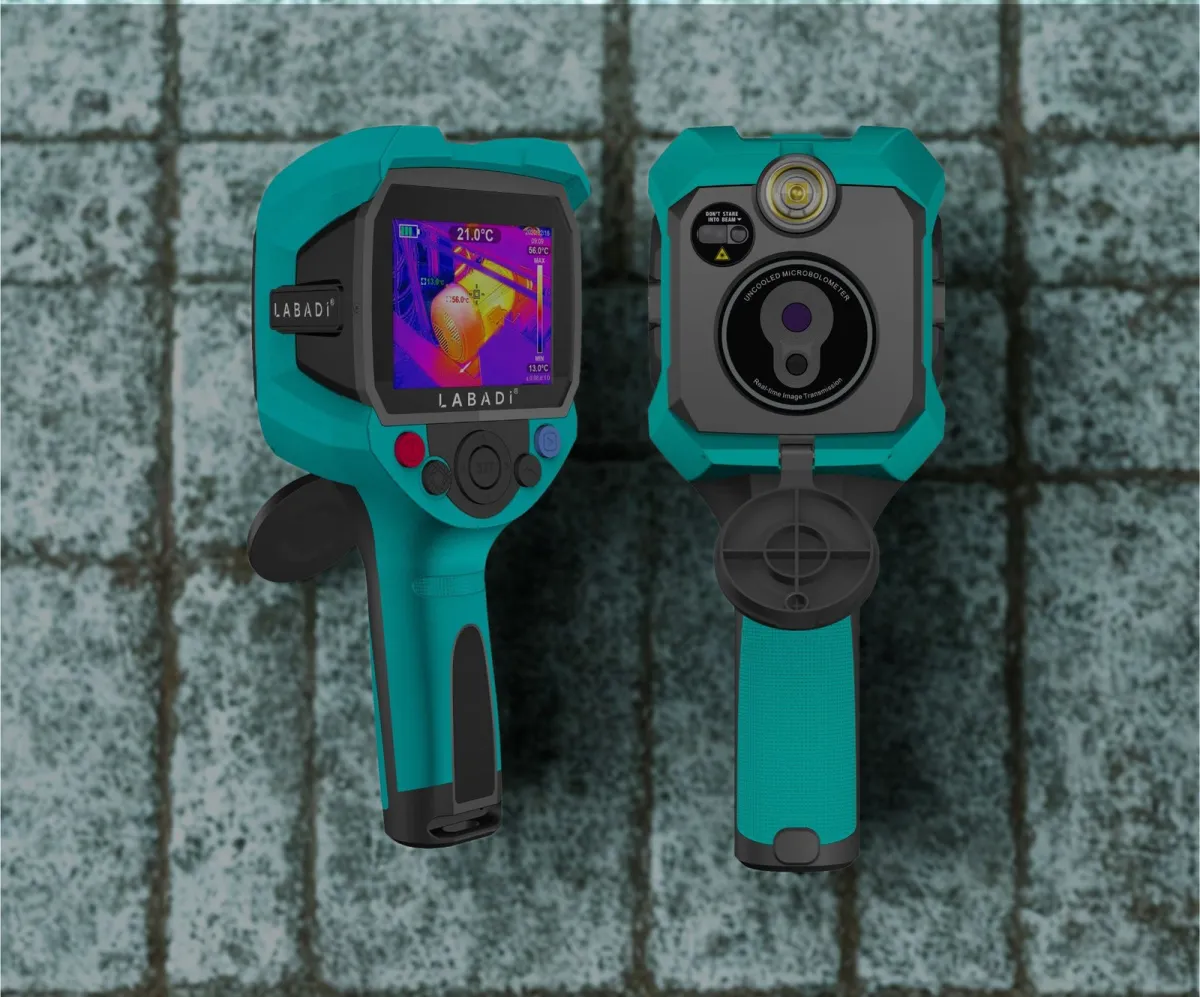
- Take moisture readings in the carpet, the subfloor and the bottom of the walls, including 300–500 mm up the plasterboard where water may have wicked.
- Compare against readings from dry areas of the same materials.
- Record temperature and humidity in the room each visit.
On a clean-water job with good equipment, carpet often dries within a few days, but subfloors and walls can take longer. Keep drying until readings reach your target. How long does structural drying take covers monitoring in detail.
Step 8: Re-lay, clean and check
Once the carpet, subfloor and walls are dry:
- Replace any underlay you removed.
- Re-stretch the carpet onto the smooth edge.
- Clean and, where appropriate, apply an antimicrobial treatment.
- Do a final walk-through for odour, staining or rippling.
When to replace the carpet instead
Drying is not the right call when:
- The water was Category 3, or Category 2 that has sat for some time.
- The carpet has delaminated: the secondary backing has separated from the primary backing, so the carpet feels loose, ripples or bubbles.
- There is persistent odour or visible mould after drying.
- The carpet was wet for an extended period before drying started. Mould growth becomes more likely the longer materials stay wet, so treat any delay of more than a day or two as a warning sign.
- Dye bleeding or shrinkage has occurred.