Water rarely stays where you can see it. It runs along bottom plates, soaks up plasterboard behind cabinets, wicks into timber flooring under a dry-looking rug and sits in ceiling insulation above a leaking shower. Finding all of it is the difference between a job that dries once and a job that comes back as mould.
Detection tools solve that problem, but only if you understand what each one actually measures.
What a thermal camera sees
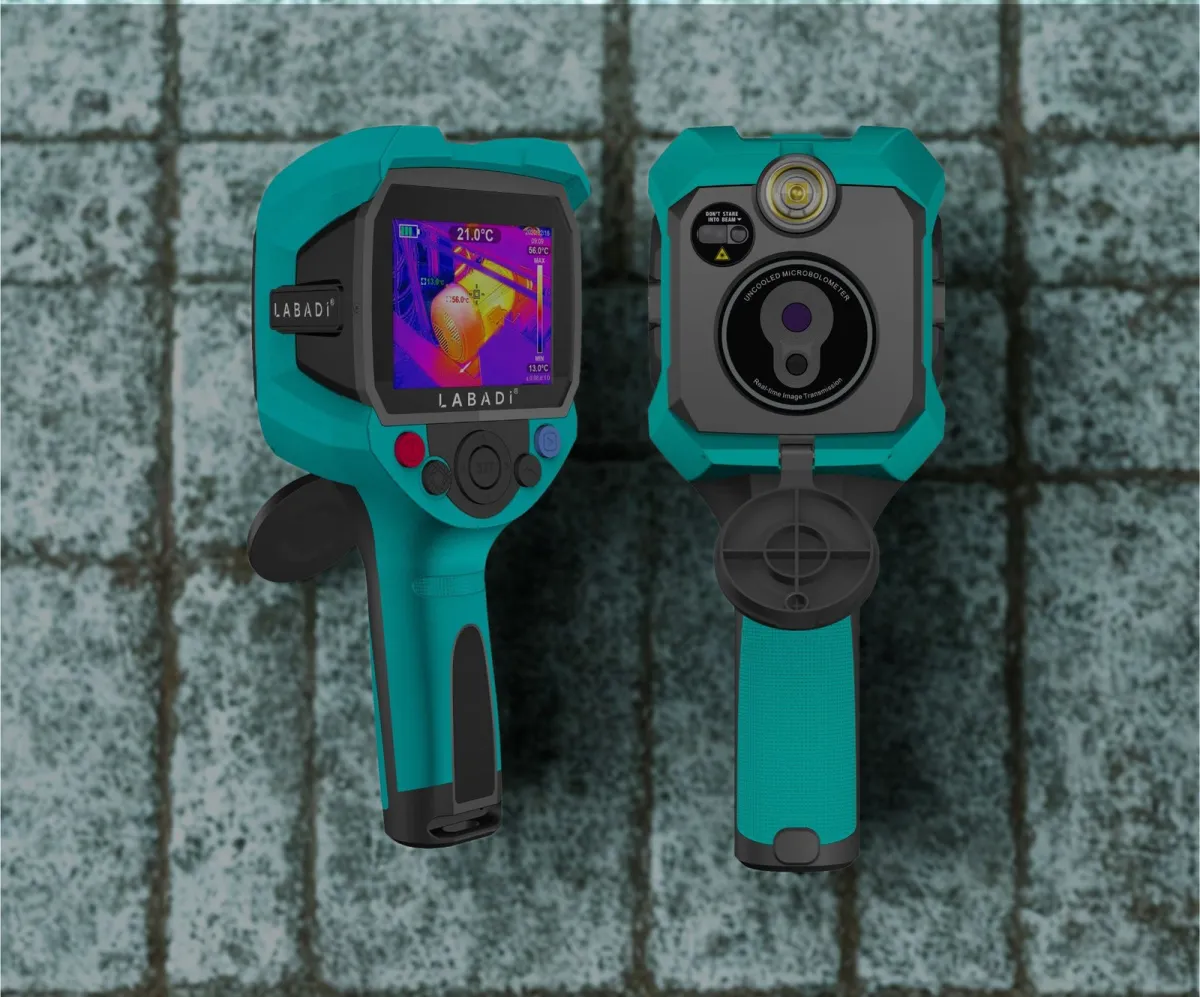
A thermal camera does not see water. It sees surface temperature, displayed as a colour image.
Wet materials usually show up because of evaporative cooling. As water evaporates from a surface it absorbs heat, so a damp patch of plasterboard is often a few degrees cooler than the dry wall around it. On the camera, that shows as a cooler, often irregular shape: a tide line rising up a wall, a fan-shaped patch below a leak, or a stripe along a pipe run.
That is powerful for quickly scanning a whole room, a ceiling or a length of hallway. It is also where the limitations start.
Why a thermal image is not a moisture reading
A cool patch is a suspected moisture area, never a confirmed one. Many things create temperature differences that look like water:
- Missing or slumped insulation in a wall or ceiling.
- Air leaks and draughts around windows, doors and downlights.
- Cold water pipes, air conditioning ducts and refrigerant lines.
- Different materials side by side, such as a timber stud behind plasterboard.
- Shiny surfaces (tiles, glass, stainless steel) reflecting the temperature of something else.
Wet areas can also be missed. If there is little temperature difference in the building, or the moisture has stopped evaporating because the room is cold and humid, the contrast can disappear. Thermal cameras generally work best when there is a clear temperature difference between inside and outside, or when the drying equipment is creating active evaporation.
The rule is simple: find it with the camera, confirm it with a meter.
Moisture meters: pin vs pinless
A moisture meter gives you a number you can compare and record. The two main types work differently.
Pin (invasive) meters push two pins into the material and measure electrical resistance between them. Wetter material conducts better.
- They read moisture at the depth of the pins, so you can check below the surface.
- On timber they can give a moisture content reading, and many meters include species corrections.
- They leave small holes, which may matter on finished timber floors or feature walls.
Pinless (non-invasive) meters use a pad on the back of the meter that sends a signal into the material and senses changes caused by moisture.
- They scan large areas quickly without marking surfaces.
- They read to a limited depth, which varies with the meter and the material.
- Readings are usually relative, so they are best compared against a dry reference area of the same material.
Many professionals carry a meter that does both. The Protimeter SurveyMaster combines pin and pinless modes, so you can scan a wall non-invasively, then pin-check the suspect spots.
A practical workflow on site
- Scan with the thermal camera from the source outwards. Look at walls, floors, ceilings and wet-area junctions. Photograph anything suspicious.
- Confirm with a meter. Take readings in the suspect areas and at the edges to find where wet material ends.
- Take dry reference readings from an unaffected area of the same material. This is your dry standard.
- Mark and map. Record reading locations on a floor plan and mark them discreetly on site so you read the same spot every visit.
- Set up drying, then repeat readings on each visit. Follow the moisture readings, not a timetable, and only remove equipment once materials reach their dry standard.
Documenting the job
Good documentation protects you with insurers, builders and clients. Useful habits:
- Save thermal images alongside matching visual photos, so anyone can see what area the thermal image shows.
- Record meter readings with the date, time, location and material.
- Log temperature and relative humidity inside and outside the drying area.
- Keep before, during and after images for each affected area.
Cameras that store images with a visual overlay or upload to cloud reporting tools make this faster.
Comparing the tools Thorair stocks
Each of these tools suits a different kind of user. Here is how they differ at a general level.
- FLIR MR277. A moisture meter and thermal imager in one unit, with dual moisture sensors and a laser pointer for targeting. It is designed specifically for building and restoration inspections, so you can find, confirm and photograph from one device. The most complete single tool, and the most expensive.
- FLIR C5. A pocket-sized standalone thermal camera with a 160 × 120 thermal sensor, MSX image enhancement that overlays visual detail, a 5-megapixel visual camera and cloud upload through FLIR Ignite. Pair it with a separate moisture meter.
- FLIR ONE Pro. A thermal camera that attaches to your smartphone, with a 160 × 120 thermal resolution. A low-cost way to add thermal scanning if you already carry a good phone, though battery life is limited and it depends on your phone.
- Thorair's standalone thermal cameras. The range includes the 3.5-inch L2564A with a 320 × 240 thermal resolution and large screen, the 2.8-inch L256B at 80 × 60, and the L200 with a 160 × 120 sensor and a rotating lens for awkward angles. They suit teams that want a dedicated camera per technician at a lower cost.
- Protimeter SurveyMaster. The confirmation tool: a dual-mode pin and pinless moisture meter to pair with any of the cameras above.
As a rough guide, higher thermal resolution means you can see smaller moisture patterns from further away, which matters on high ceilings and large commercial spaces. For small residential jobs, a 160 × 120 camera paired with a reliable meter covers most needs.
Browse the full detection range, or see how detection fits into a complete water damage restoration setup.